True antique brass items look “dirty” due to years of exposure to external factors, like air, humidity, and dust. And it’s quite natural to want to scrub and clean the things you value. But cleaning old brass can do more damage than good.
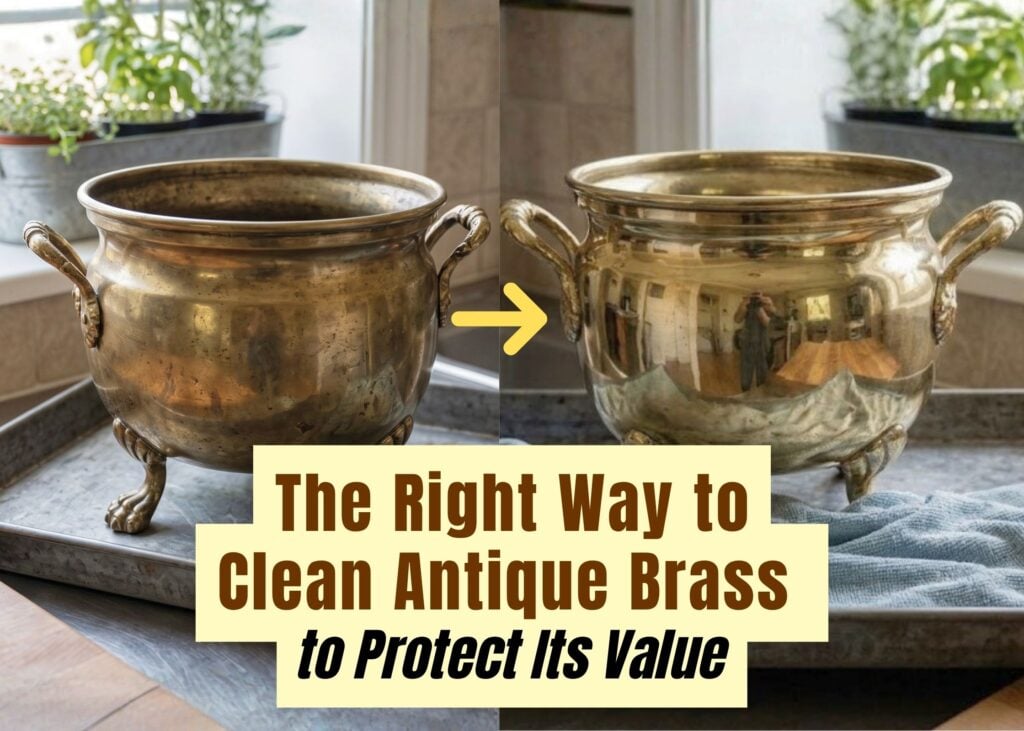
That aged, warm brown or greenish tone on old brass is not always dirt. It is patina, and it is a big reason collectors pay what they pay. That’s why learning to clean antique brass is a must to save its collector value.
Here, you will learn safe cleaning methods, the five mistakes you should avoid, and how to tell when you shouldn’t really touch a piece.
Should You Even Clean Antique Brass?
The answer to this depends on a few things, but for most true antiques, you should clean them as little as possible. The idea is to preserve the patina.
Patina is the subdued coloration that forms when brass has interacted with the atmosphere for many years. This takes the form of warm browns or olives, but in some cases, where there is more copper content, it may take a bluish hue known as verdigris.
If this layer strips off, an antique brass piece can suddenly look like a modern repro you would find at a big box store.
So before reaching for any cleaner, think it through.
- Just want to display it? Dust only. Nothing more.
- For functional pieces, like a doorknob or drawer pull that you use every day, gentle cleaning is fine.
- Thinking of selling, appraising, or insuring? Do not clean it. Leave that call to the buyer or the appraiser.
That last point matters the most. The antique people know that cleaned items come in 20 to 70 percent less in value than the identical item with its patina left intact.
Is It Real Antique Brass or Brass Plated?
The cleaning method depends on the material’s nature. For example, it’s safe to use mild washing for solid brass, but not for brass-plated items, which are basically steel or zinc, just coated in brass.
Use the wrong approach on plating, and you can strip right through to the base metal.
To identify the actual material, the magnet test is your best bet. Brass is non-magnetic, so if you test an item using a refrigerator magnet and it sticks, it is plated brass, steel, or cast iron.
However, the catch is zinc. Zinc is non-magnetic, too. So, if a piece fails the magnet test, it could still be zinc alloy with brass plating.
In that case, do a second scratch test in a hidden spot with a sharp knife or coin. A bright yellow scratch means solid brass all the way through. A silvery or coppery scratch means it’s brass-plated.
Caring tip: Always take the scratch test on the underside, inside rim, or somewhere no one can notice. Never scratch on the piece.
There is another thing that you must look for. Older brass is usually coated in a thin layer of lacquer to protect against tarnishing. How to check it? Apply some brass polish using a cotton ball to a hidden spot.
If the swab gets black, it is bare brass. If it stays clean, the piece is lacquered and needs a completely different care and cleaning approach.
The Right Way to Clean Antique Brass (Gentle Method)
Once you know what you have, the actual cleaning is simple. Almost boring, honestly. That is the point.
Step 1: Start with dusting.
A soft, dry microfiber cloth could be all that an antique brass item requires. This should be done before any wet cleaning agent is used because it will spread dirt and cause scratching on the item.
Step 2: Use a light, warm wash.
Mix warm water and one drop of a mild dish detergent. Soak a soft cloth in the solution and squeeze excess water. Gently clean the item. I won’t recommend submerging the item in water because it may result in new corrosion after several days.
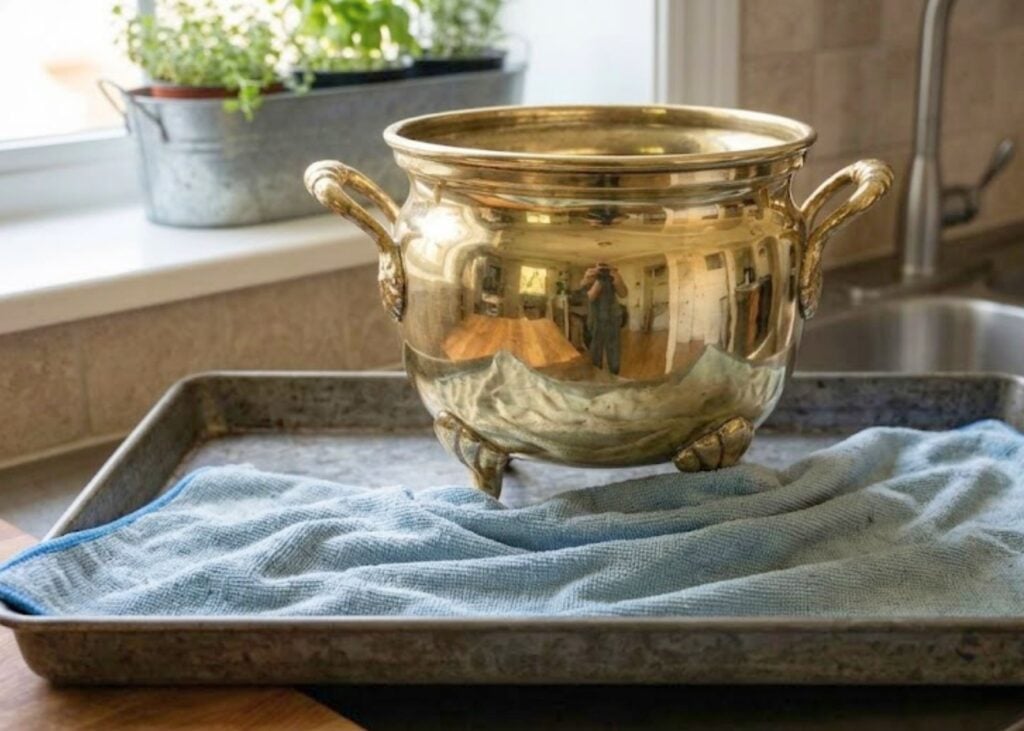
Step 3: Rinse and wipe.
Rinse the washed piece and quickly wipe with a damp cloth once again to remove all soap residues. Residue from the soap will affect the shine and attract more dirt to your piece of glass.
Step 4: Dry the piece.
Dry the brass piece immediately by buffing with a soft, dry towel. For pieces with intricate details such as beads and engravings, you can use a soft toothbrush, too.
Cleaning Stubborn Grime
To clean tougher stains and grime that won’t go away with a simple wash, prepare a spreadable paste of one part flour, one part salt, and sufficient white vinegar. Spread thinly and leave for about ten minutes, and clean it off with a damp cloth.
Cleaning Tip: Remember to do a spot test in advance. While this method is milder than polish, it is still acidic in nature and may harm patina formation.
5 Things That Will Ruin Your Vintage Brass (Never Do These)
Most damage to antique brass pieces happens because people try harder to clean them than they need to. If you want to protect your piece’s quality and collector value, avoid the following:
- Commercial brass polish on true antiques. One firm rub with Brasso or a similar product strips patina and takes a thin layer of metal with it. Save these for modern brass or utilitarian hardware only.
- Ketchup, lemon juice, and viral cleaning hacks. They work on modern brass because they are aggressive acids. On antique brass, they etch the surface and leave permanent pitting.
- Steel wool, wire brushes, or scouring pads. No matter how fine a quality it is, it makes scratches on the surface.
- Using a dishwasher or soaking the item in water for too long. Water speeds up the process of verdigris formation, and heat might cause solder joints to fall apart.
- Cleaning before an appraisal or sale. This is the biggest one. Serious buyers want original patina. Cleaned pieces routinely sell for less than the same item left alone.
How to Store and Preserve Antique Brass to Keep It Valuable
Good cleaning doesn’t help much if antique brass is stored the wrong way. A few habits keep antique brass looking right for years.
- Store your pieces away from bathrooms, kitchens, and unheated garages. The less humid the place, the better.
- Wrap stored items in acid-free tissue paper. Newspapers are okay to use, but the ink can transfer onto brass and leave marks that are difficult to remove.
- For displayed pieces, monthly dusting with a soft brush is enough. Skip the wipe unless there is visible grime. You could tuck silica gel packets inside a display cabinet to help absorb ambient moisture; best for humid areas.
- Use microcrystalline wax for long-term protection of valuable pieces. Museum conservators widely use this as it makes an invisible barrier against moisture and fingerprints. The best thing is that it can come off cleanly if you ever need it. To use, simply apply a thin coat with a soft cloth, let it haze, then buff.
- Don’t use clear nail polish or spray lacquer as sealers. They yellow over time, and removing them can chemically affect the antique piece.
While the cleaning and storage sounds easy, some pieces should never be a DIY project. Call a specialist if:
- It’s a signed piece, marked by a known maker, or came with documented provenance.
- It has heavy, spreading verdigris that flakes when touched.
- It combines materials, like brass with silver plating, gilding, ivory, or wood inlay.
- It is a family heirloom you cannot replace.
A qualified metals conservator will assess the piece before doing anything, and that’s worth the investment.
Note: This article is intended for informational, educational, and entertainment purposes only. Some images are illustrative and may not represent actual brands, products, or related entities. All trademarks, product names, brand logos, packaging, and other intellectual property referenced remain the exclusive property of their respective owners. Any brand mentions or references are provided solely for descriptive and educational context and do not imply any formal or commercial association.