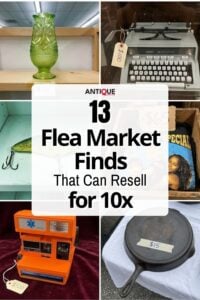
Most first-timers walk into a flea market and freeze up within ten minutes. Too many tables. Too much stuff. No real sense of where to start. And the standard “get there early, bring cash” advice you’ve read a hundred times online doesn’t actually help you tell a $15 reproduction from a $300 antique.
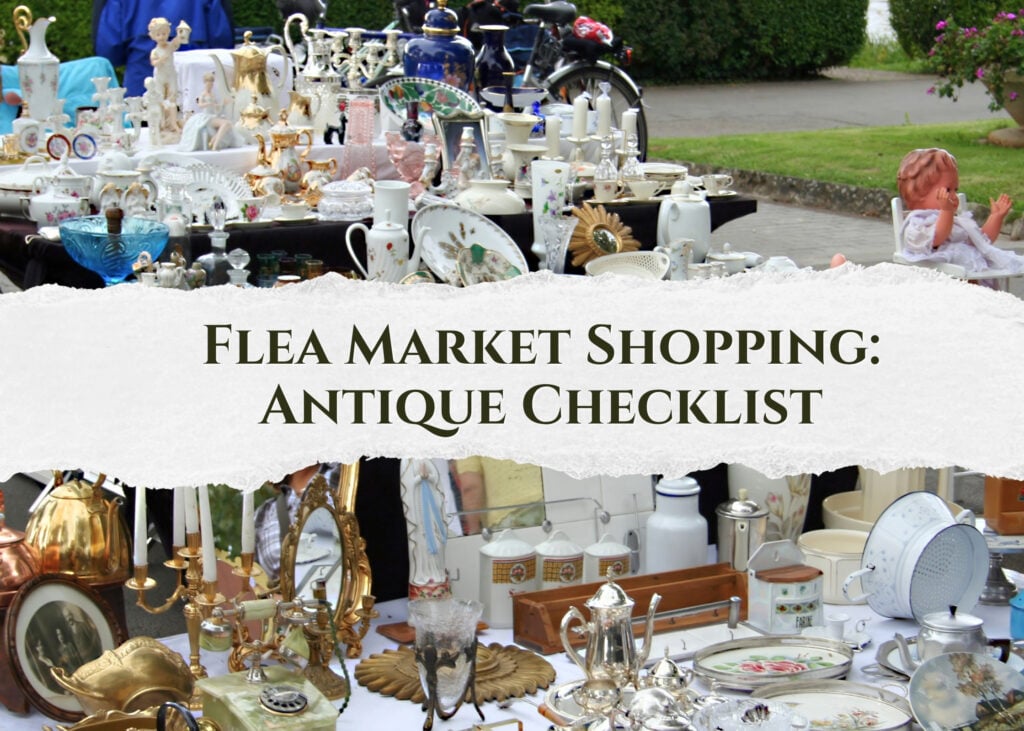
But this checklist will help you. It’s a quick-scan method experienced collectors use to work a booth in about a minute, rewritten for someone hunting real antiques and vintage pieces for the first time.
What to Pack Before You Go?
Flea market shopping can be rewarding with a little bit of prep. Show up empty-handed and you’ll either miss things or buy the wrong ones. Here’s what you should bring to the flea market:
- A 10x jeweler’s loupe: Cheap on Amazon. It reads maker’s marks, hallmarks, and hidden repairs on porcelain and jewelry.
- A 365nm UV flashlight: Somewhere in the $15 to $35 range. This is the tool that pays for itself on your very first trip.
- A small neodymium magnet: Silver and real bronze won’t stick to it. Most fakes will.
- A tape measure & a folding tote or cart: Boring, but you’ll wish you had both.
- Cash in mixed bills: Twenties, tens, and fives. Sellers negotiate harder when they can see the money.
Timing matters too. Get there when the gates open and you see the freshest stock, but you’re paying closer to full price. Show up in the last hour, and sellers start dealing because nobody wants to load unsold junk back into the truck.
6-Point Check for Every Piece You Pick Up
Whenever something catches your eye at the flea market, run these six easy checks before you ask about price:
1. Look for the Mark First
Anything of real worth has some kind of signature on it. The stamp of the manufacturer on ceramics, the hallmark beside the handle of silver, letters embossed on the base of cast iron, paper labels inside drawers. Even a country of origin stamp gives an indication of the time period.
Unmarked items are not necessarily worthless. However, marked items of known manufacturers are usually worth several times as much as their unmarked counterparts, making them worth checking out first. Take a picture of anything that you can’t identify and then do your research later.
2. Read the Construction
Construction tells you when something was made, and that usually tells you what it’s worth.
For furniture, open a drawer and look at the corner joints. Hand-cut dovetails from before the mid-1800s look slightly uneven; machine-cut dovetails made after the 1860s look identical across every joint.
Perfect symmetry on a piece being sold as Georgian or Colonial is a red flag, not a selling point.
The screws and nails matter too. Phillips-head screws didn’t exist before 1936. Wire nails weren’t common until the 1880s. Modern hardware on an “18th-century” chest usually means one of two things: a later repair, or an outright reproduction dressed up to look old.
3. Feel the Weight
Weight is the fastest tell for genuine materials.
- Real bronze feels dense in the hand, but pot metal and spelter feel light and cheap.
- Lead crystal has a heft that pressed glass simply doesn’t match.
- Sterling silver weighs noticeably more than silver-plate of the same size and shape.
When confused, pick two pieces up, one in each hand, and compare. Your hands figure out the difference before your eyes do.
4. Run the UV Flashlight
Some pieces need a closer look under a UV flashlight. Cup your hand around the piece to shade it, then sweep the 365nm light across the surface.
Modern glue and touch-up paint react to UV differently than the original body of the object, so old repairs light up like a fingerprint on clean glass. Even a well-done restoration that looks invisible under normal lighting jumps out under a blacklight.
The same flashlight also spots uranium glass, which is one of the most rewarding first-time antique finds. Plenty of sellers don’t realize they have it, so pieces still sit on tables at general-goods prices. If the glass gives off a bright, uniform green glow under the UV, you’re looking at Depression-era vaseline glass that often trades between $50 and $200 depending on form and pattern.
5. Assess Damage Honestly
Not all damage carries the same weight. A hairline crack in a piece of Rookwood pottery can cut its value in half. A small chip on a common Fire-King bowl barely matters because the piece was only worth $12 to begin with.
The rule of thumb is simple. The rarer and more delicate the piece, the more each flaw hurts. And a genuine antique that’s been stripped and refinished with modern materials can lose a big chunk of its market value, sometimes half or more. So learn to spot a stripped surface, which usually looks too pale, too clean, and too even in tone for the age it claims.
6. Trust your gut on “too perfect”
Real antiques age unevenly. Corners get bumped. Edges soften. The finish darkens more where hands touched it, and less where they didn’t. Reproductions try to fake all of that at once, so the wear ends up looking uniform and staged.
If a piece looks 200 years old but the wear pattern is exactly the same from top to bottom and front to back, walk away.
High-Value Categories Worth Hunting
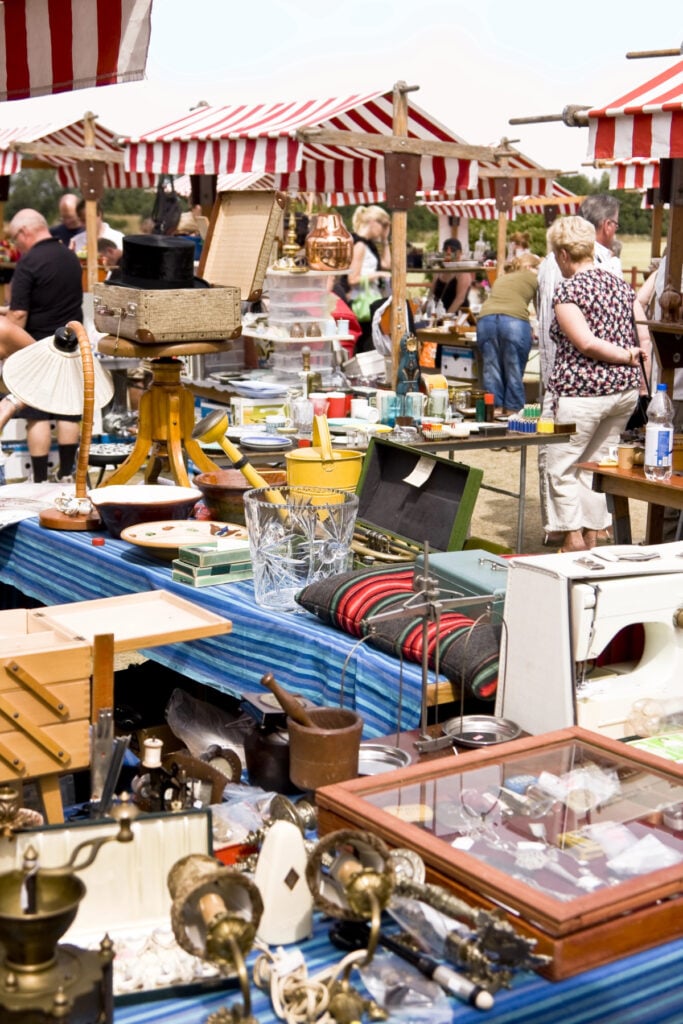
Some categories reliably turn up underpriced at flea markets because casual sellers don’t know what they’re holding. Focus your first few trips on these.
- Signed costume jewelry: Trifari, Weiss, Miriam Haskell, and Eisenberg pieces show up all the time. Loupe the clasp and the back for the signature.
- Cast iron cookware: Griswold and Wagner are the big two. Real Griswold pieces have the name cast into the bottom in raised letters, usually inside a cross-and-circle design, along with “ERIE, PA USA” and a pattern number. A clean large-block-logo #8 skillet is a solid pull.
- Sterling silver flatware: Even mismatched. Check for “sterling” or “925,” weigh it, and it’s worth real money as scrap alone.
- Mid-century Pyrex: Common patterns sell for $10 to $30. Rare ones like Lucky in Love clear $300 or more.
- Old advertising signs, tins, and mechanical clocks: Pre-1960 examples with strong graphics move quickly on resale.
Negotiating Without Getting Burned
Most beginners overpay because they’re afraid to make an offer. Don’t be. Sellers expect it, especially on unmarked items priced above $20.
A plain opening line works fine. “Can you do any better on this?” That alone usually knocks 10 to 20 percent off. If you’re picking up more than one piece from the same table, ask for a bundle price on the whole group.
It’s also equally important to know when not to push. If a dealer clearly specializes in the category you’re shopping and their prices already look fair, aggressive haggling just gets you frozen out on your next visit.
After You Buy
Take photographs of the marks, construction features, and any signs of damage as soon as you get back home. Compare similar items with “sold” listings on eBay rather than the “asking” price for information on how much similar items have fetched.
In the case of items that may fetch several hundred dollars, wait for a little while and seek a second opinion from a specialist dealer.
Note: This article is intended for informational, educational, and entertainment purposes only. Some images are illustrative and may not represent actual brands, products, or related entities. All trademarks, product names, brand logos, packaging, and other intellectual property referenced remain the exclusive property of their respective owners. Any brand mentions or references are provided solely for descriptive and educational context and do not imply any formal or commercial association.