You inherit a walnut side table from your grandmother, spot some grime along the edges, and reach for the spray you use on your kitchen cabinets. That simple action can kill hundreds of dollars off what that piece could be worth.
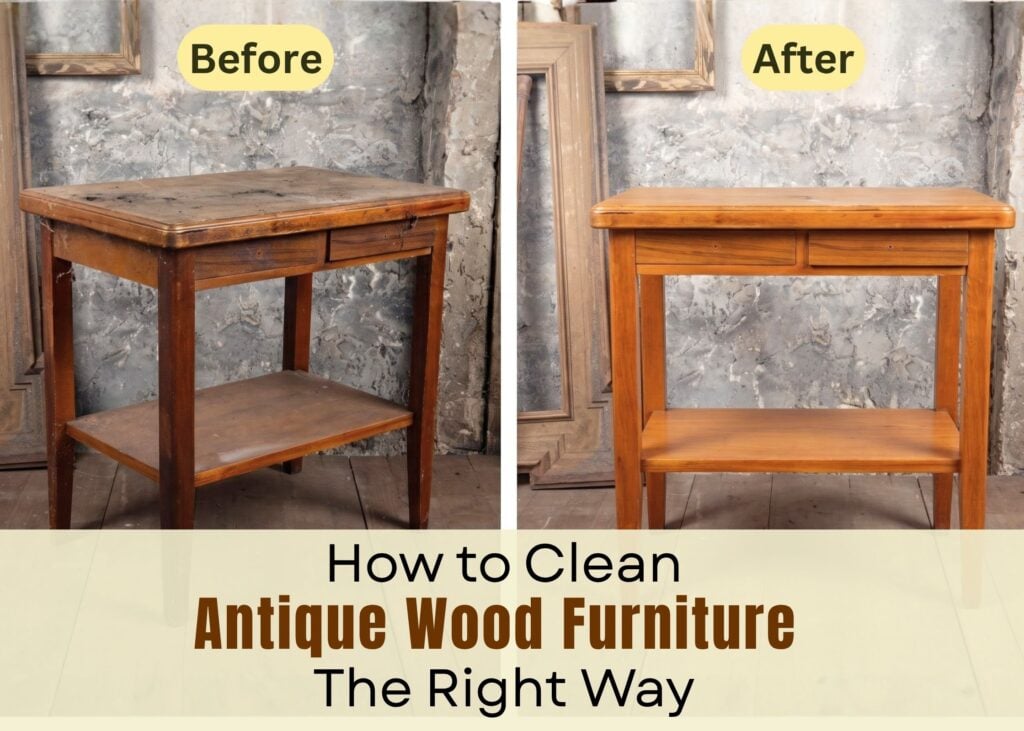
Cleaning antique wood furniture is not the same as cleaning modern pieces. The finish is older, more delicate, and more chemically fussy. And the surface layer you might see as “dirt” is often patina, which collectors seriously judge.
So, for avoiding damage to the value of your antique furniture piece, this article is here to help you learn how to clean your antique wood furniture properly.
Why Cleaning Antique Wood Furniture Is Different?
Antique wood furniture usually features a finish that predates any modern finish you’ll find today. This includes shellac, French polish, early varnish, milk paint, and wax finish.
All these coatings react to water and solvents differently from each other, and from modern polyurethane. Shellac, for example, is easily softened by Alcohol, gets clouded by water, and even a damp cloth left too long will bloom the surface white. And anything older than about 1920 probably has some shellac somewhere on it.
Then there is the value side.
Ancient furniture contains patina, which is the combination of oxidation, mild use, and exposure that alters the wood. This is the single most sought-after feature in antique wood. If you scrub your piece too vigorously, you will destroy it, and along with it 90 percent of its value.
Quick Tip: If a piece is over 100 years old, treat cleaning as conservation, not housework. The goal is to remove dirt, not the story the piece is telling.
Check the Type of Wood Before You Start
As I already said, not every antique wood behaves the same way under a damp cloth. The species affects how the finish sits, how the wood absorbs moisture, and even what color of wax will look right on it.
Here is what to keep in mind for the main wood types you:
- Oak: Open-grained and thirsty. The clear wax turns white and chalky in the grain and joints, which is why it is better to use medium or dark wax for old oak pieces. Dust will also become lodged in the grain, making it better to use a brush rather than a cloth.
- Mahogany: Usually finished with shellac or French polish, so avoid water. Wring your cloth out until you think it is too dry, then wring it again. A medium- to dark-wax is ideal to match the tone and cover small scratches.
- Walnut: Also often French-polished on Georgian and Victorian pieces, so treat it as delicately as mahogany. Walnut fades fast in sunlight, and once it is lightened it does not come back. Also, bleach or ammonia is bad for it.
- Cherry: Darkens over time into that warm reddish tone collectors look for, and stripping it wipes out decades of that color change. Clean gently, wax lightly, and never sand.
- Pine: Soft, dents easily, and often carries the original milk paint or a thin wax coat rather than a hard finish. Dry dusting is usually all it needs. If the paint is original, do not clean it beyond that.
- Teak: It’s an oily wood that resists water better than most, but the older oil finishes underneath do not go with alcohol-based cleaners and vinegar. A dry rag and a bit of teak oil will do.
ID Hint: If you can’t figure out what kind of wood you have, look at the drawer bottoms and underneath the furniture piece. The raw wood will give you the correct markings and color.
What You Will Need? A Safe Cleaning Kit
Once you know what wood you are working with, the tools are simple. All you need is:
- Soft microfiber or lint-free cotton cloths (old white t-shirts are perfect)
- A natural-bristle brush for carvings and crevices
- Distilled water
- Mild, pH-neutral soap, like diluted castile or Murphy Oil Soap
- Odorless mineral spirits for stubborn build-up
- A quality paste wax with beeswax or carnauba, for occasional protection
What Not to Use (Even if the TikTok Says You Can)
Vinegar, ammonia, all-purpose sprays, Pledge, and other silicone polishes, olive oil, and any bottle labeled “lemon oil” without a real ingredients list.
Cooking oils and drying oils sound gentle, but they turn into a sticky brown film over time that dulls the grain and traps every speck of dust in the room. Silicone is a bigger problem still.
Step-by-Step Guide to Cleaning Antique Wood Furniture
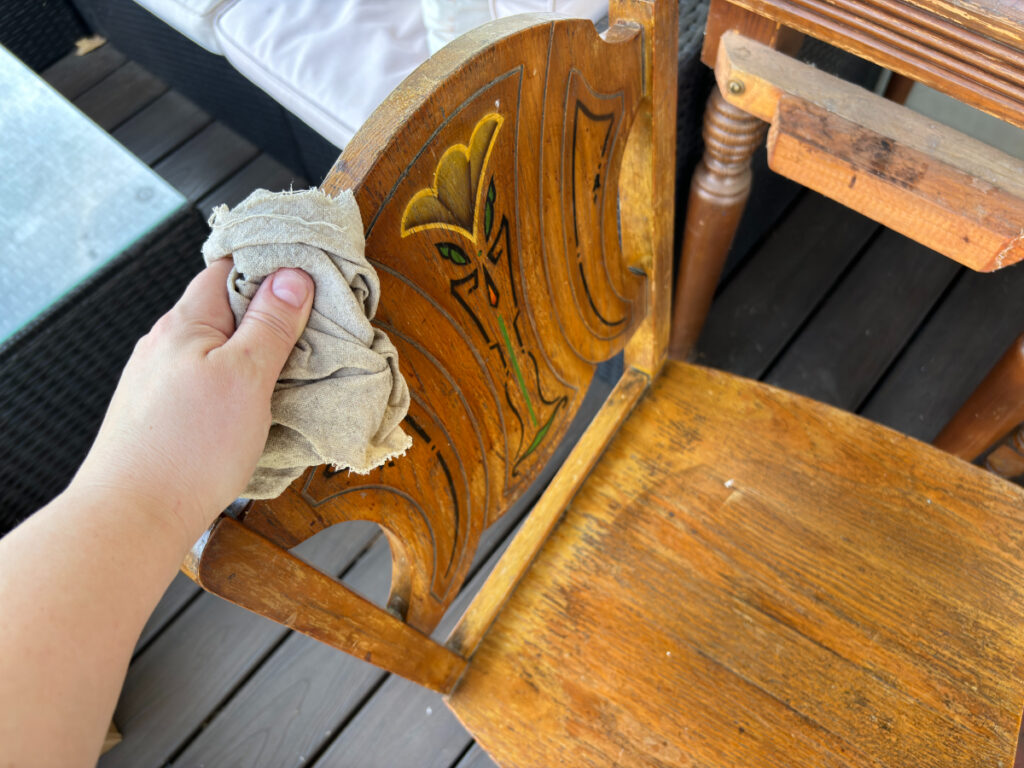
Once you have the right items, follow these simple steps to clean your vintage furniture:
- Dust first, always: Use a dry microfiber cloth and work from top to bottom. Loose grit needs to come off before anything wet touches the surface, as you are grinding it in.
- Damp-wipe with distilled water and mild soap: Dilute the soap heavily, wring the cloth almost dry, and wipe with the grain. The cloth should feel cool, not wet. Also, before you clean the top, test on the underside of a drawer or the back of a leg to see how the finish will react.
- Move to mineral spirits only if soap fails: Odorless mineral spirits are the go-to solvent for lifting old wax, oily grime, and decades of polish residue off cured shellac, varnish, and lacquer. Work fast and do not soak the surface. Try a six-inch section, change your cloth as it darkens, and stop when the wood looks clean enough.
- Dry immediately: After every damp step, dry the section with a dry cloth. Do not let the moisture set for too long, as it warps veneer and loosens old joints.
- Buff gently with a clean cotton cloth: Be gentle with this step, not too much pressure; just enough to bring the finish back to itself.
Cleaning vs. Polishing vs. Waxing: What Your Piece Actually Needs
Most people treat cleaning and polishing as the same job, but they are not.
Cleaning removes dirt. Waxing lays down a thin protective layer and revives wood that looks dry. Polishing is, well, mostly a marketing category.
If your furniture is merely dirty, clean it with a dry cloth and leave it at that. If the wood looks thirsty and unattractive even after being cleaned, a very thin layer of paste wax every now and again, one or two times a year, will do. Beeswax or carnauba wax is ideal. Apply it and polish the wood gently.
Skip the spray polishes. This is not a preference thing; it is a value thing. Silicone builds up as an invisible film that later cracks, hazes, and, worst of all, soaks into the wood through hairline gaps in the finish.
Once the spray is in there, any future restorer has to strip it out chemically before doing anything else, and it may still cause “fisheye” pits when the new finish goes on. It is one of the most common ways in which people damage beautiful pieces.
Special Surfaces: Veneer, Carvings, Inlay, and Painted Antiques
The process for cleaning antique wood furniture is mostly the same, but sometimes each surface requires a special treatment.
- Veneer is a decorative sheet of wood attached to a simpler wood base. The old hide glue underneath can loosen because of moisture. A dry cloth, or barely damp at most, and dry it off right away.
- Carvings and turned details hold dust in every hollow. Use a soft, natural-bristle brush to clean them out without driving liquid deep into the wood where it can sit and swell things.
- Inlay and marquetry need extra care. Contrasting pieces of wood can pop loose with even a little water. If you see any gap or lift, stop cleaning and get expert advice.
- Original painted antiques, especially milk paint and folk pieces, are almost always worth more dirty than clean. So, simply dust them. Rubbing paint that old can chip or flake it.
How Often Should You Clean Antique Wood Furniture?
The answer is: less than you think. Dust is where it all starts, so dust weekly with a dry cloth. Damp-clean once or twice a year at most. Wax every one to two years, not every time you clean.
Also, where you keep the piece matters a lot for how often you should clean it.
Sunlight fades the finishes. Radiators and vents dry wood out and open the joints. A room that swings between humid summers and heated winters will do more damage in a decade than any amount of dust. So, keep the furniture in the right place.
When to Call a Professional or Conservator?
Some situations are just not DIY. Get yourself a furniture expert if your item shows any sign of flaking and crazing of the finish, veneers coming off, wormholes with sawdust inside them, the signature of the manufacturer, or any sign of age or quality.
Also, do not try to clean if you find any gummy, sticky film that mild soap will not lift. That is usually decades of old polish and silicone, and it needs cleaning using solvents by professionals.
Before doing anything invasive, learn what you have. Check maker’s marks, construction, and joinery details.
And when the piece already looks fine, do nothing at all.
Note: This article is intended for informational, educational, and entertainment purposes only. Some images are illustrative and may not represent actual brands, products, or related entities. All trademarks, product names, brand logos, packaging, and other intellectual property referenced remain the exclusive property of their respective owners. Any brand mentions or references are provided solely for descriptive and educational context and do not imply any formal or commercial association.